If you are like most Peloton members, you may enjoy looking at and trying to improve upon your personal records. Overtime though, the metrics used for these records become more and more inaccurate. So in order to prevent that from happening, here is how to calibrate your Peloton bike.
Table of contents
How to calibrate a Peloton bike – video guide
Subscribe to Connect The Watts for more connected fitness news, updates, tips, and guides
Why calibrate your peloton bike
Peloton calibrates bikes within its factory and claims that they typically hold a 10% standard for variation. The problem is, 10% is a quite a big difference, and that is before the bike actually leaves the factory.
The Peloton bike’s journey to your home can then consist of being moved in and out of several trucks from various companies. Given the frequency of stories around scratched, broken, and sometimes lost packages from XPO (a delivery company Peloton relies on) I think it is reasonable to assume some level of calibration is lost along the way.
Note: Peloton Bike+ have less to worry about here as they can be recalibrated easily and are usually done by deliverers upon arrival.
Even if your Peloton bike is perfectly calibrated, that will likely not be the case overtime. Even the slightest shift in the magnet above the flywheel can change how a given resistance level feels.
Peloton calibration kits
Peloton used to include a calibration kit with the delivery of its bikes. Unfortunately this is no longer the case. So in order to calibrate an original Peloton bike, you will need to call Peloton to order one.
These calibration kits do not come with instructions and Peloton has removed all of its previous instructions online. Luckily I have outlined all of the steps to calibrate your Peloton bike here.
How to calibrate the Peloton Bike+
Calibrating a Peloton Bike+ is a very simple and very quick process. To do this, simply:
- Tap ‘Device Settings’
- Then tap ‘Home Calibration’
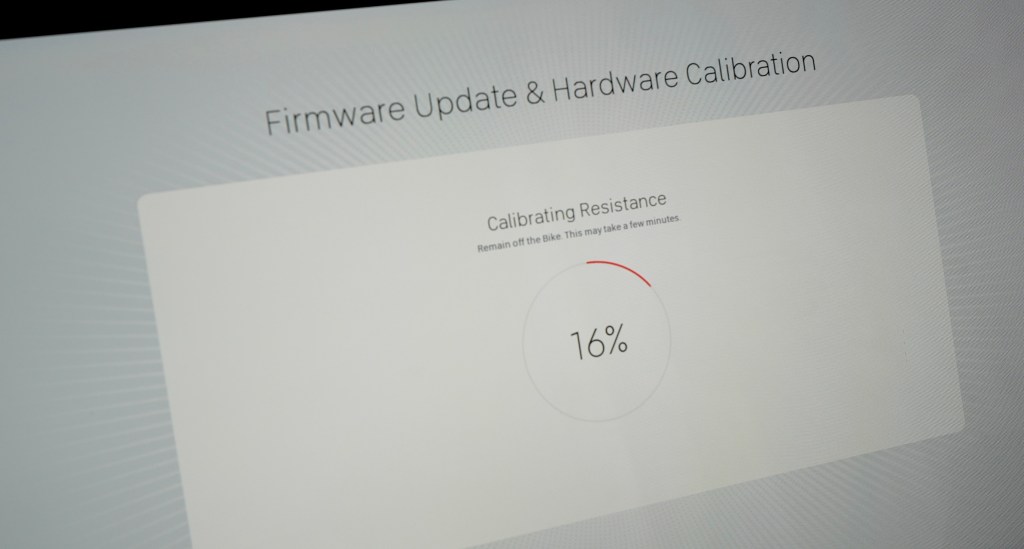
- Wait around 30-60 seconds for it to complete
That is it. In less than a minute your Peloton Bike+ is now calibrated and good to go. It is so quick and easy that I personally do this every month to keep my metrics as accurate as possible.
How to calibrate an original Peloton Bike
Unlike the Bike+, to calibrate the original Peloton bike takes a bit more effort:
- First, call Peloton and order a calibration kit
- Remove the water bottle holder and sweat guard using a Philips head screwdriver
- Tap ‘About’ from the Peloton menu (three dots on lower right hand corner)
- Then tap the right hand corner of the ‘About’ pop up 10-20 times until you are taken to a screen saying “Welcome to Sensor Calibration”
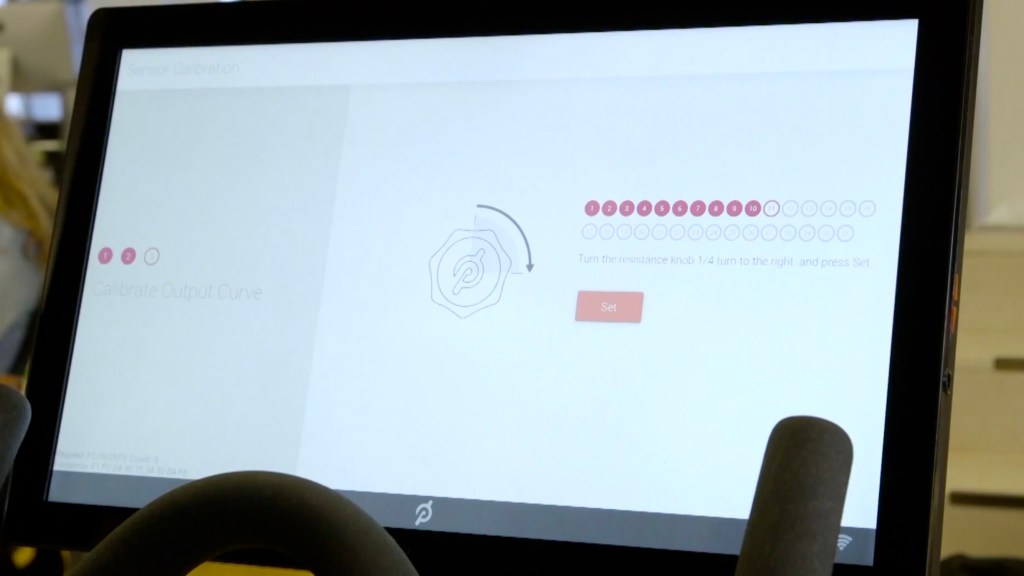
- Follow the instructions on the screen to reset the minimum and maximum resistance
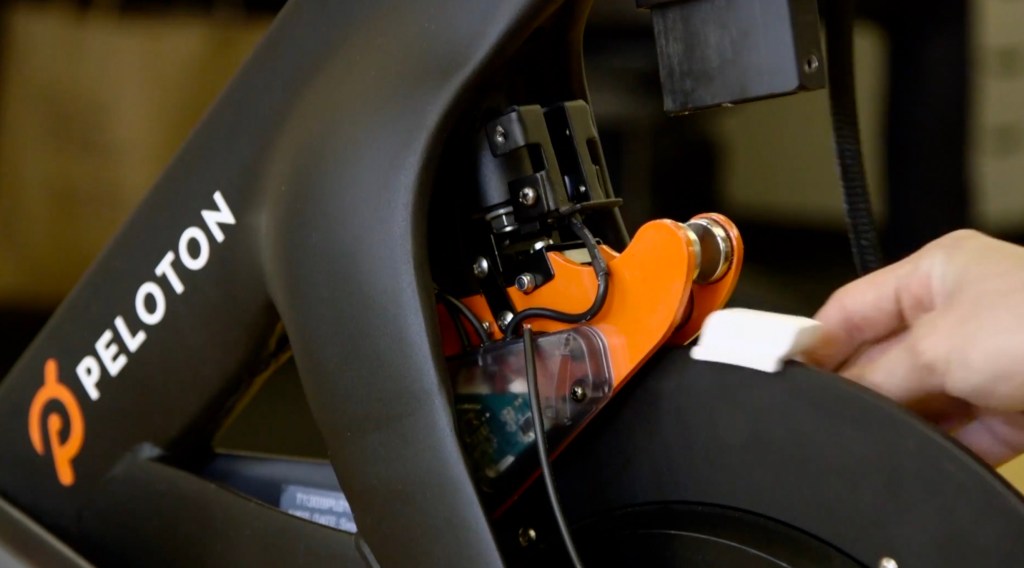
- Move your resistance all the way down. This will allow you to place the white calibration block under the magnet between it and the flywheel
- Tighten the resistance knob until the white block is held firmly in place but loose enough that it can still be removed
- Remove the white calibration block
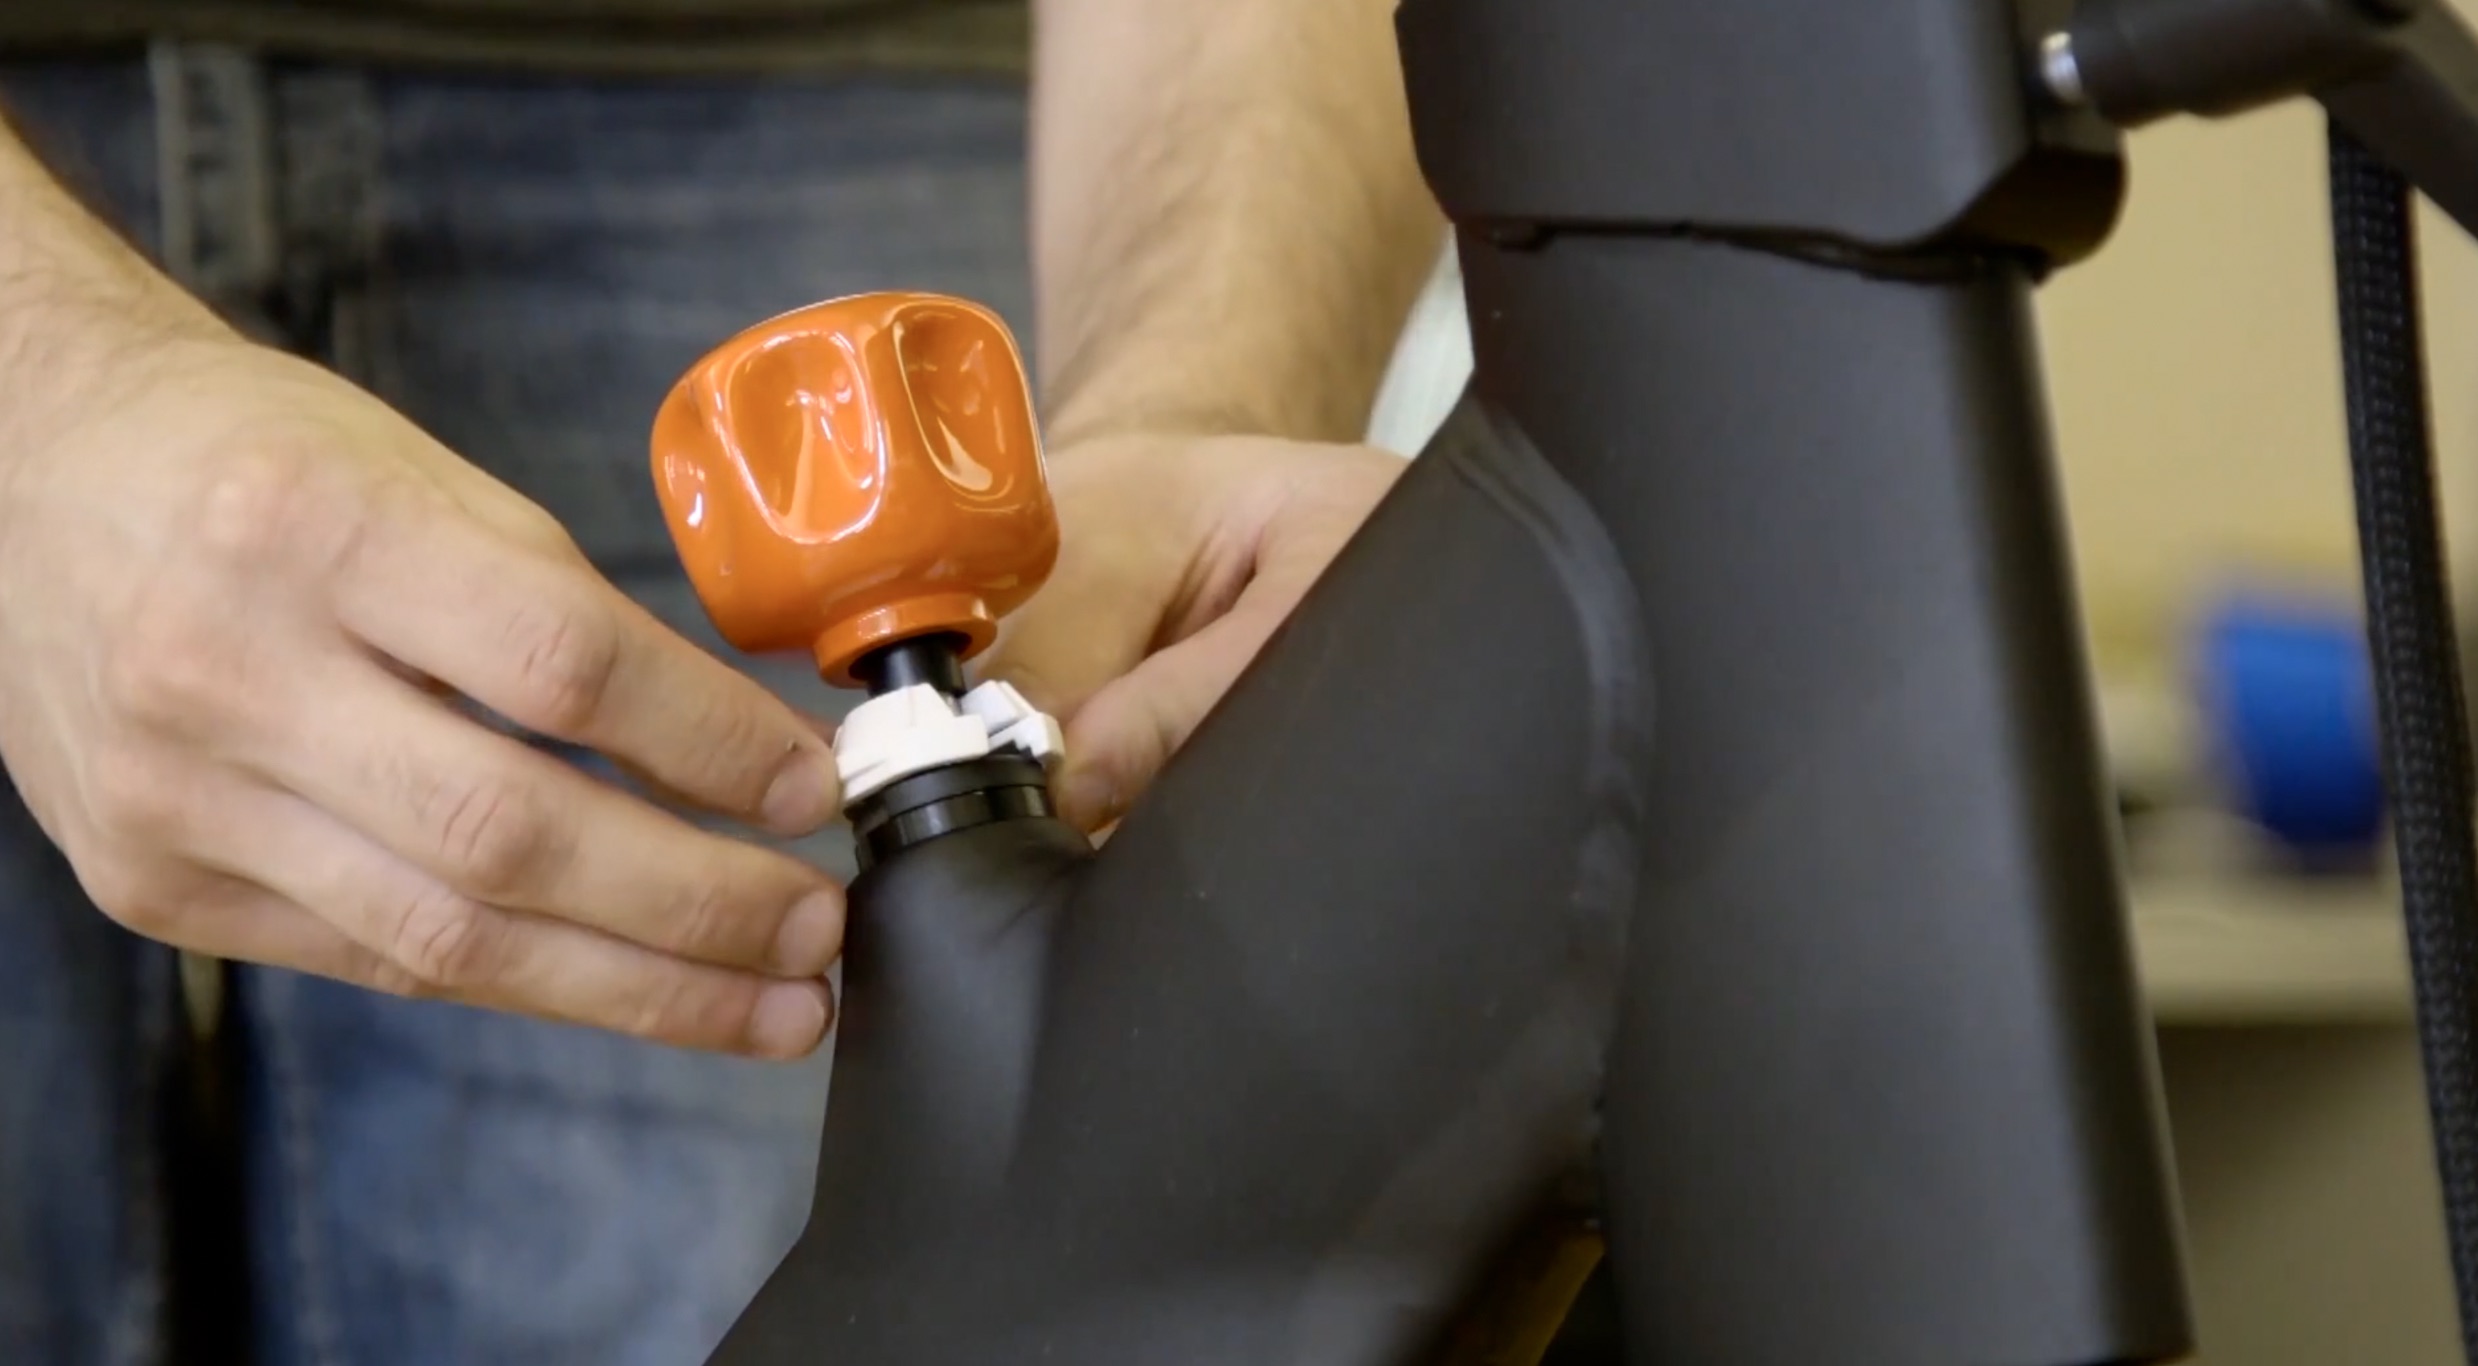
- Place both white calibration disks onto the resistance knob. Rotate the opening of both white disks so that they are lined up and face the front of the bike
- Continue the calibration process on the screen, which will have you make 30 quarter rotations to the resistance knob. The white calibration disks will help guide you to ensure you rotate the knob the correct amount each time
- Once finished you can go back to the Home Screen, then turn off the bike, unplug it, and reinstall the sweat guard/water bottle holder.
And congratulations, you have completed your Peloton bike calibration!
Other articles you may enjoy:
- Every Peloton fan ranked and reviewed
- How to synch your Apple Watch to Peloton
- Is Peloton Bike+ worth the extra $1,000?
FTC: We use income earning auto affiliate links. More.
